Smokey eyes en tonos cálidos con delineado gráfico 🍂 [ESP-ENG]
15 comments

ENGLISH
Hello friends, happy day! I hope you are feeling great.
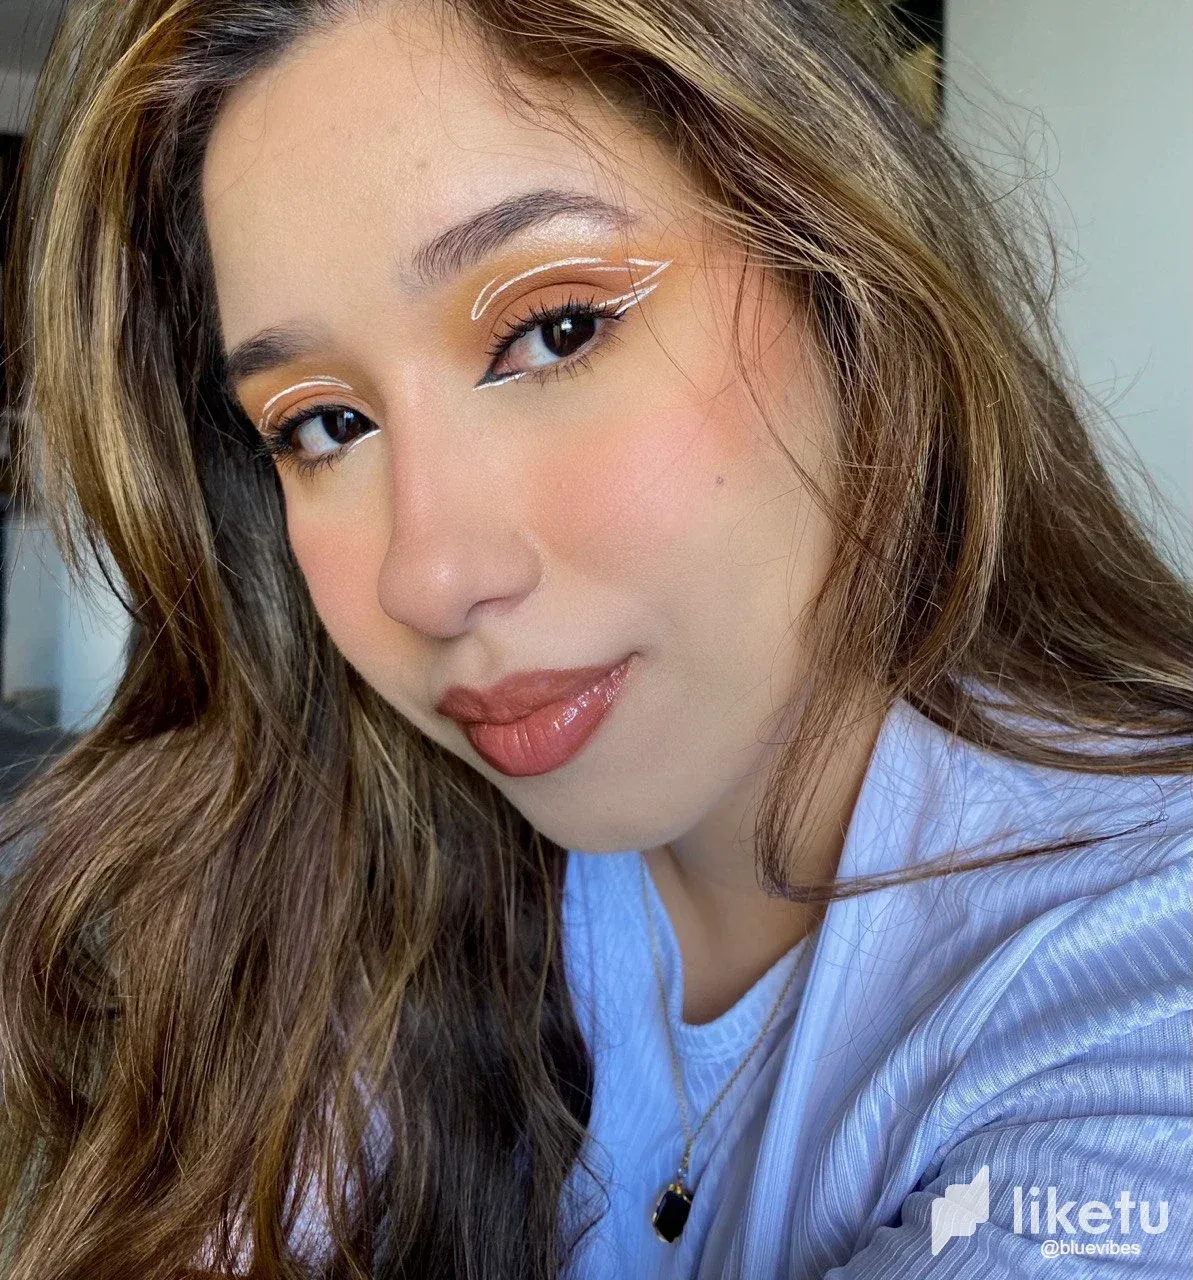
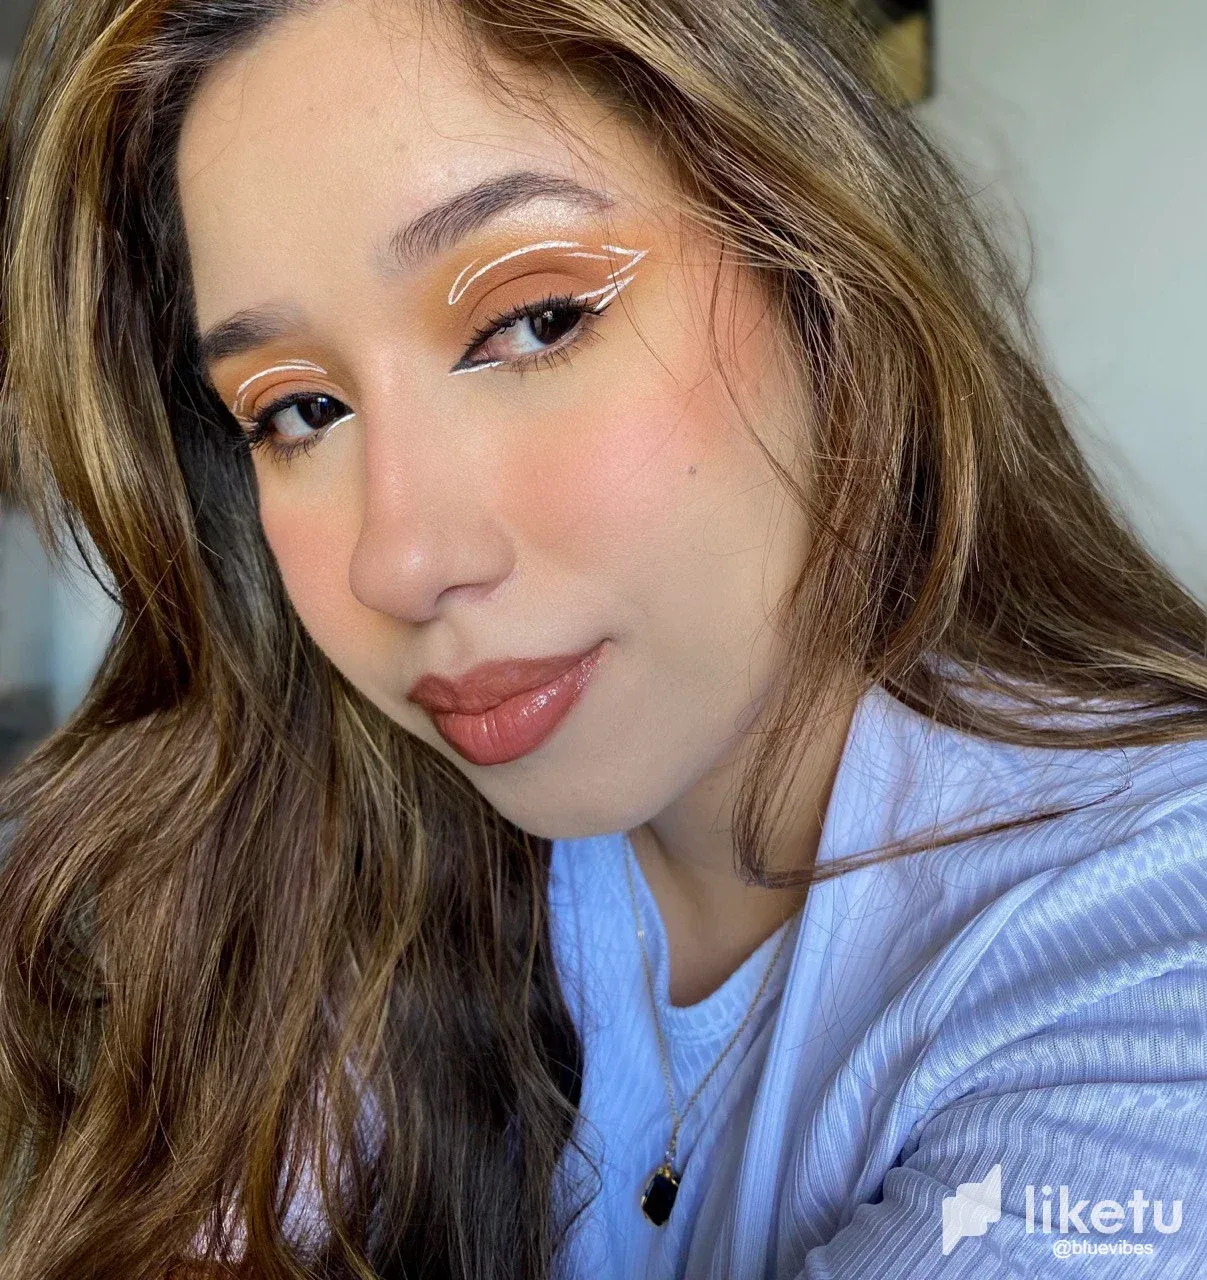
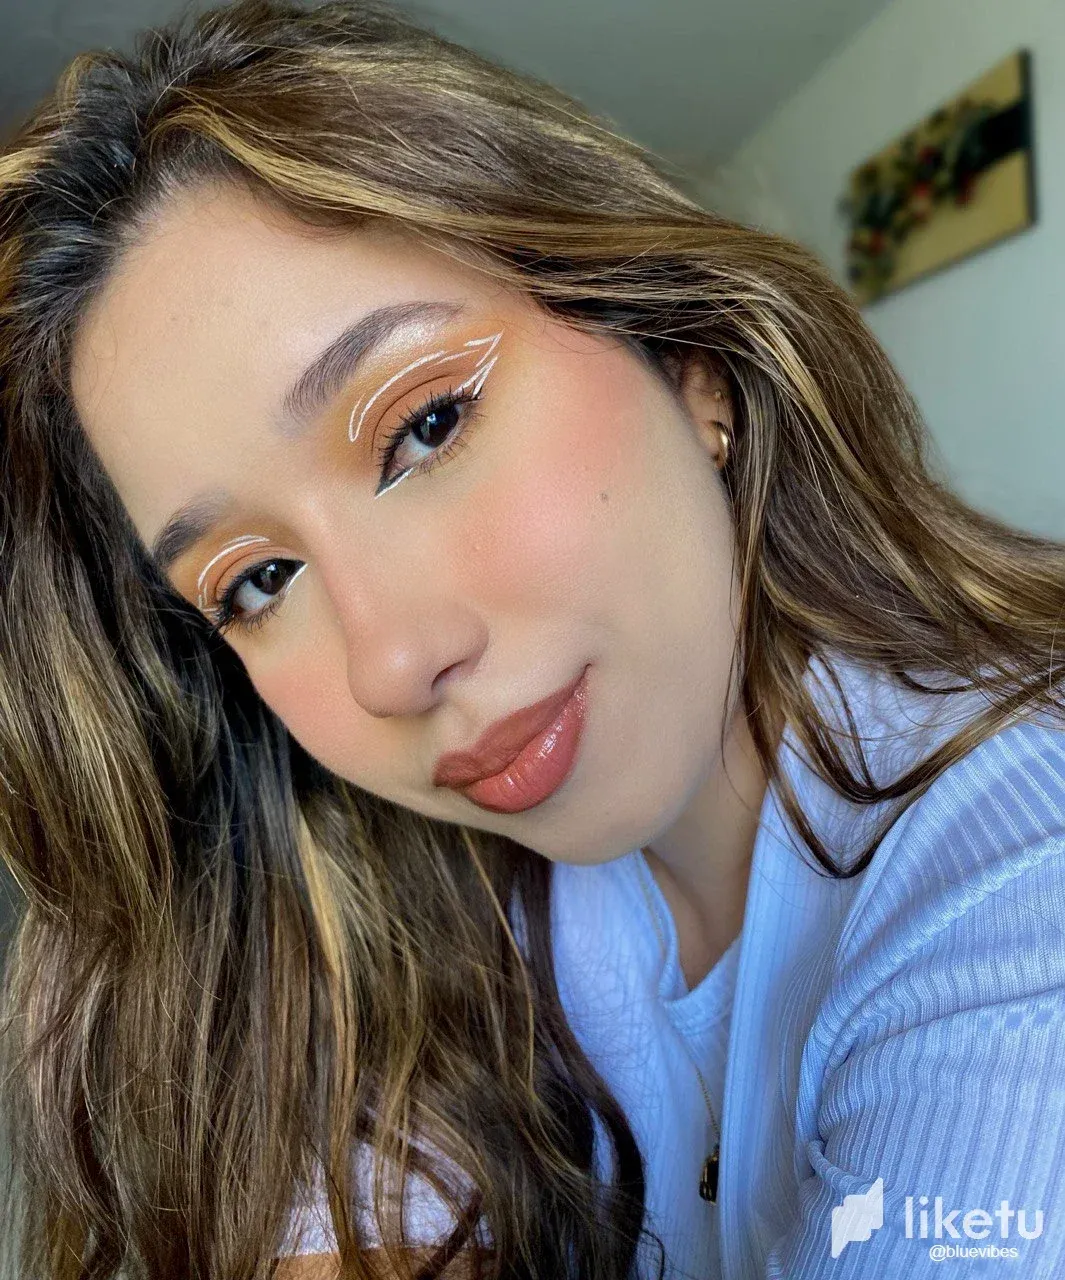
I'm here to share with you the mini tutorial of this cute makeup that I took as inspiration from Pinterest and I really had a lot of time without makeup, I guess that classes absorb a lot of my time but today, having some of it free I wanted to dedicate it to makeup. This is a pretty natural or simple smokey eyes that I made as a base and on top of this I wanted to take a risk with a white eyeliner. Without further ado, here is the step by step, I hope you like it.
Procedure
Step 1️⃣
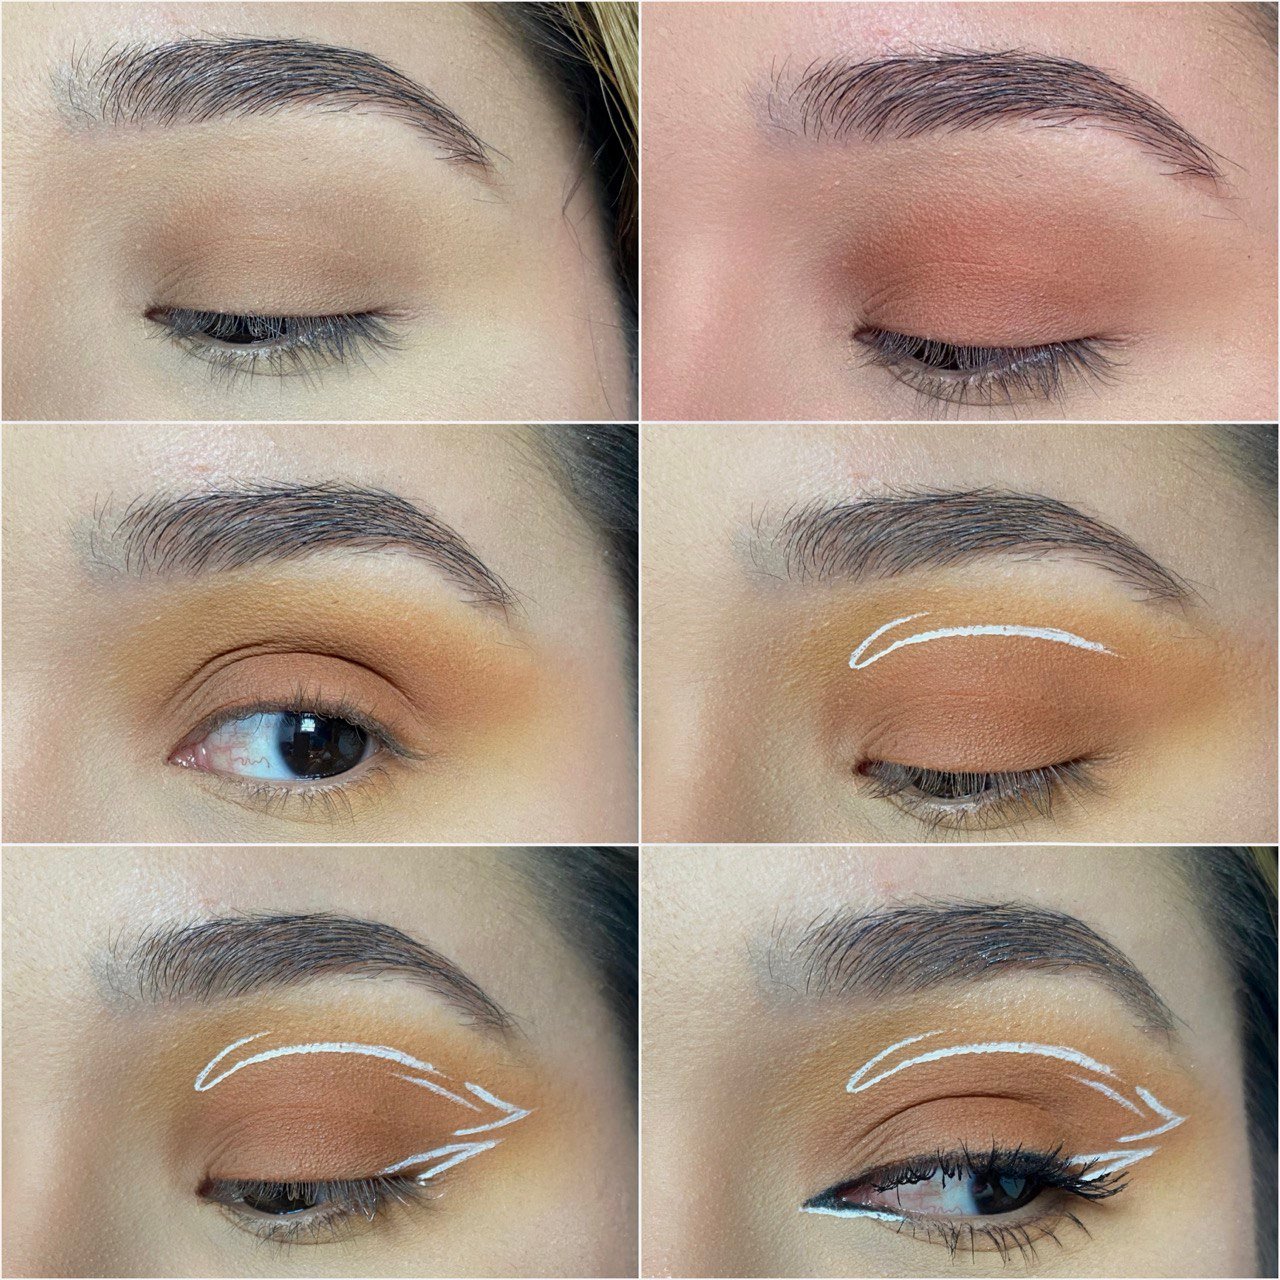
The first thing I did was to prepare my eyelid with some concealer and apply a light brown shade, to intensify the color I added a darker shade but following the red-orange shades, then with some orange pigment I reached the shade I was looking for and blended it well. For the socket and fixed eyelid area I used a yellow shade that helped me to blend the edge of the color I had used before.
Step 2️⃣
Once I had my eyelid ready I proceeded to make the graphic eyeliner, in this case I used a white eyeliner to make the strokes or lines all over the eye, to finish I applied black eyeliner on the lash line extending it to the inner v, apply mascara and that's it.
In the end, this was the result of a makeup that although simple has its touch thanks to the eyeliner, personally I really like this kind of shades and I was quite happy with the result, I feel it was very nice. I hope you liked it and although I might get a little lost around these parts or with the tutorials, I'll see you in the next 🤭. A hug!
ESPAÑOL
Hola amigos, feliz día! Espero que se encuentren super bien.
Paso por aquí para compartirles el mini tutorial de este lindo maquillaje que tomé como inspiración de Pinterest y es que realmente tenía mucho tiempo sin maquillarme, supongo que las clases absorben bastante mi tiempo pero hoy, al tener algo de este libre quise dedicarlo al maquillaje. Se trata de un smokey eyes bastante natural o sencillo que realicé como base y encima de este me quise arriesgar con un delineado en tono blanco. Sin más, por aquí les comparto el paso a paso, espero que les guste.
Procedimiento
Paso 1️⃣
Lo primero que hice fue preparar mi párpado con un poco de corrector y aplique un tono café claro, para intensificar el color añadí una sombra en un tono más oscuro pero siguiendo las tonalidades de rojo-naranjas, luego con un poco de pigmento naranja llegué al tono que estaba buscando y difuminé bien. Para la zona de la cuenca y párpado fijo utilicé un tono amarillo que me ayudo a difuminar el borde del color que había usado anteriormente.
Paso 2️⃣
Una vez tenía mi párpado listo procedí a realizar el delineado gráfico, en este caso use un delineador blanco para hacer los trazos o líneas por todo el ojo, para finalizar aplique delineador negro en la línea de pestañas extendiéndolo hasta la v interna, aplique máscara de pestañas y listo.
Al final, este fue el resultado de un maquillaje que aunque sencillo tiene su toque gracias al delineado, en lo personal este tipo de tonalidades me gustan mucho y quedé bastante contenta con el resultado, siento que quedó muy lindo. Espero que les haya gustado y aunque quizá me pierda un poco por estos lados o con los tutoriales, nos leemos en un próximo 🤭. Un abrazo!
Separador de texto creado por | Text separator
Texto traducido en | Text translated in: Deepl
Imagenes tomadas por mi | Images taken by me
For the best experience view this post on Liketu
Comments